
On its surface, the packaging design process seems simple. You devise a layout, put together some colors, and slap some text on it. Boom—you have a good packaging design. But is the process really that simple?
How do you know if this design will connect with your target customer? How do you guarantee the primary packaging customers see on the shelf will look like what you designed in adobe illustrator?
And if mistakes do happen, how can you keep the project on track without going over budget?
These questions—all of which need answers—illustrate that there’s much more to the packaging design process than simply slapping together a few layouts and logos. It’s a rigorous process that needs attention every step of the way. As such, we thought we’d dive into the details of product packaging design and give you an end-to-end look at the process, from early designs to final print.
Step 1: Design Concepts
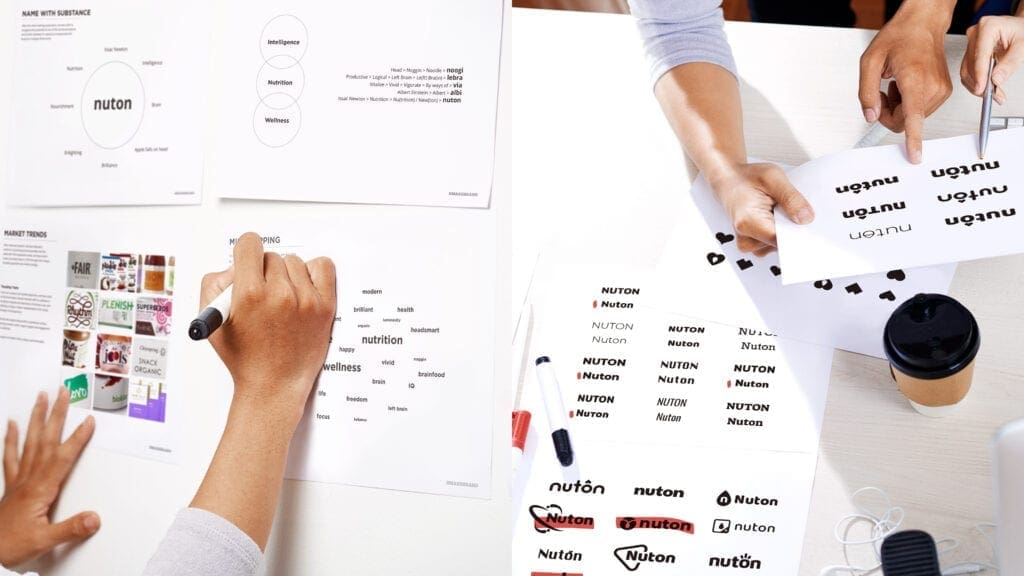
The first and most important step is establishing a game plan from the beginning of concept creation. This will be the first of many design possibilities you’ll test. The final product package might not look exactly like this concept, but you’ll have plenty of opportunities to refine it over time.
This process begins with a design brief informing the early planning stages, usually detailing project objectives and goals. This is the first step, but remember that the brief must be supplemented with multiple primary and secondary research phases. Each research step helps you understand the opportunities for your visual design choices, brand positioning, and key differentiators.
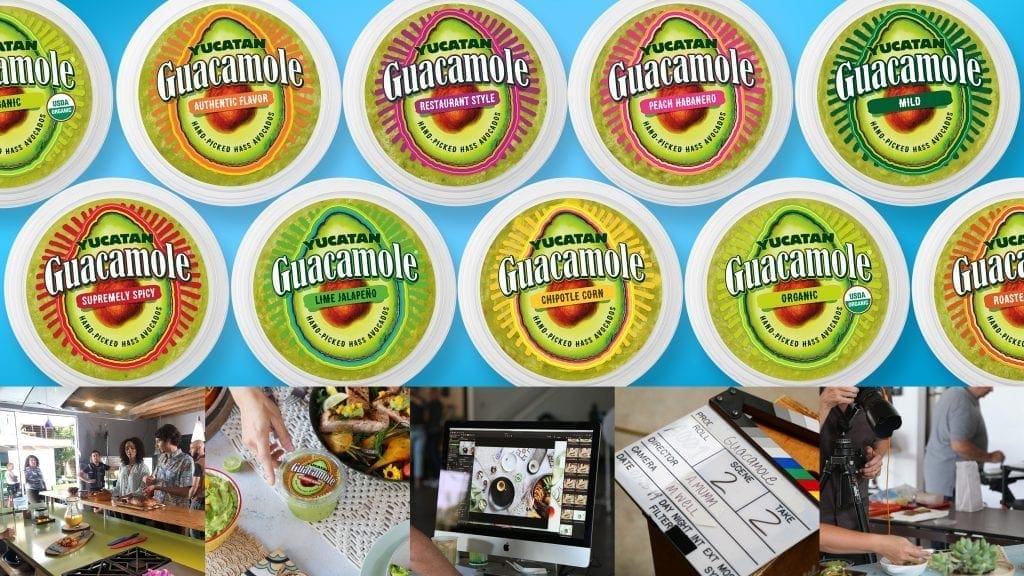
Yucatan Guacamole Rebrand by SmashBrand
Include information about your desired outcomes, target market, and other details that’ll come into play later. These may include colors, specific fonts, logos, or other types of brand imagery. And if possible, include some examples of projects you like to give your designers more data to work with.
These are crucial concepts to line out early in the process. Fifty-six percent of fast-moving consumer goods professionals agree that late-stage design decisions are weak, so don’t put them off.
Validate Before Continuing
Your goal here is to provide an easy-to-follow roadmap for the design that lays out everything from end to end. Create a framework and ask others in your organization to help assess the blueprint. Does the master plan seem viable with your available resources? Does it meet your project goals? Will it actually be printable when it comes time to press?
But don’t just look inward! Use consumer testing with focus groups to your advantage and validate your concepts before proceeding. Test multiple concepts against themselves and your competitive set to determine which options offer the best results. Usually, you’ll do one round of testing during this early concept stage and at least one more before it’s finalized and ready for print. The messaging needs to work hard as it will capture 40% of sales conversions, so make this step a priority.
Step 2: Copy Assessment
With your master plan, it’s time to look at your copy. This step is all about collecting, approving, and applying the written details of your package design:
- Product name
- Claims and key messaging
- Instructions / Usage
- Contact information
- Barcodes
- Legal info & NLEA
As a best practice, it’s good to have all of this in development early to use your real data in your artwork mock-ups. Placeholders might seem like a faster way to keep the project moving, but effective packaging design is intricate, and small changes to copy may require significant design adjustments down the line. This is a big area of inefficiency should you have to come back to it, so getting everything lined out ahead of time will pay dividends.
And while you’re at it, put some effort into your copywriting! The words you choose to represent your product will greatly impact the consumer’s perception of your brand. In fact, 63% of consumers believe that product packaging is almost as important as the brand itself when purchasing—so don’t neglect this step.
Collect all pertinent copy and put it together in a single file. This is the easiest way to get each stakeholder to sign off on the copy without investing too much time into the approvals process. Ensure you include these details in your collaboration platform and allow everyone to review it.
Step 3: Artwork Review
Now that your copy is ready, you can begin rolling out the artwork.
Here, you’ll apply your production designs to each SKU in your product line, based on each product’s packaging characteristics. This process is done by production artists, who apply each specification’s details into print-ready files. These files, in turn, will be used in the final printing process to bring your design to life.
It’s important to double-check the placement, sizing, and most importantly, the dielines, of every design element for every SKU in your printing project. Dielines will map out the scale of each element, the cut lines, eyemarks, color mapping points, and any other elements to be fit into the design, so it’s of utmost importance that you map out these guidelines correctly.
Review these dielines after creation to ensure they’re accurate and consistent across each product. It’s good practice to leverage visualizations at this stage to help get a feel for each design before it goes to print. 3D renders and physical mock-ups are the main choices here. Both tools help a packaging designer understand how their vision would look in reality, as well as showing how the design appears from different positions and angles.
This type of planning can pay off in the long run, as one survey shows: 73% of consumers agreed that the design of a package provides insight into the product and the potential re-purchasability of that product.
Again, validate each design with your stakeholders before moving on. These milestones keep everyone on board, but more importantly, reduce the odds of unexpected reworks.
Step 4: Prepress
The artwork is set, and the stakeholders are on board. Now, it’s time to prepare your design for final printing. Prepress is a highly technical process involving reprocessing and preparing a design. This step is crucial to ensure that everything is set up correctly and that your image will look as good in real life as on the computer screen.
Most printers use the four-color process method or CMKY. It involves separating the design into four different printing plates, one for each color: cyan, magenta, black and yellow. Because colors look different in print than on the computer, some touch-ups might be necessary to keep the prints true to the original design.
On top of that, every printer is different. That’s why it’s important to account for any deviations between presses. Press profiles are used in a way similar to drivers on your computer. They ensure that the press can read your design exactly how it’s intended.
The final prepress step before the test print is to ensure no registration or overlapping errors on the printing plates. Once everything is lined up, it’s time to do a quick test run to ensure everything is ready.
Step 5: Hardcopy Color Proof
Your fingers have been itching, and it’s finally time to hit the print button. The next step of the design process is to make a hardcopy color proof and see your design come to life.
Once the proof is made, use a color reference chart to ensure the colors are exact. If the shade is off by even the slightest amount, it could affect your entire branding campaign. After all, studies have shown that 90% of snap decisions are made based on color alone, so make sure it’s right! The colors on the proof are guaranteed to be the same as those on the full press.
You wouldn’t buy a used car without a safety certification, so why would you accept uncertified proofs? The ISO certification is an international standard created to ensure the quality of printed materials. Make sure your proof is ISO certified to guarantee quality.
Step 6: The Production Process
After a long, laborious process, you’ve finally reached the end. The final step is printing the production designs onto the selected substrates. Press plates and cylinders are made from the artwork files and attached to the printing press. Some packaging material is then run through and printed.
The printer will create a custom file type, called a STEP file, to guarantee that files are specified to a press plate. STEP files are an ISO-approved format similar to a PDF. They’re simply a way to save information in a widely-supported format that can be understood by most software. That way, your designs aren’t altered when the information is shared between systems. After creating the STEP file, the press plates can be made for each color.
When the press plates are complete, it’s time to schedule the production run. This will be the final signoff for the full commercial print run. Make absolutely certain that everything is correct before signing off. There’s no turning back after this.
Once you’re completely happy with the design and have signed off on the printing schedule, it’s go time. The final packaging is run through the press and printed. Your design will come to life and be ready to be sent into the world.
Packaging From Design to Print.
Hopefully, we’ve illustrated that there’s more going on behind the scenes of a successful packaging design project than you might have expected. Given its complexity, businesses must hire professionals well-versed in packaging design, as the process is quite a bit different than other digital design mediums.
There’s a lot that can go wrong during the package design process, so we suggest taking the time to validate and review different designs along the way, but in most cases, companies need to work with a specialized packaging design agency that can walk them through the details.
Keep things in order and establish repeatable processes for validation at set milestones. This is the easiest—and most efficient—way to keep your packaging design process under budget and on schedule.
Data-Driven Brand Development For CPG Brands
Whether you are launching a new product or going through a packaging refresh, we can help. Our PathToPerformance™ packaging design process guarantees a retail performance lift. Book a time to discuss your project with our team.
Subscribe to
Nice Package.
A monthly newsletter that unpacks a critical topic in the FMCG & CPG industry.
Free Resource.
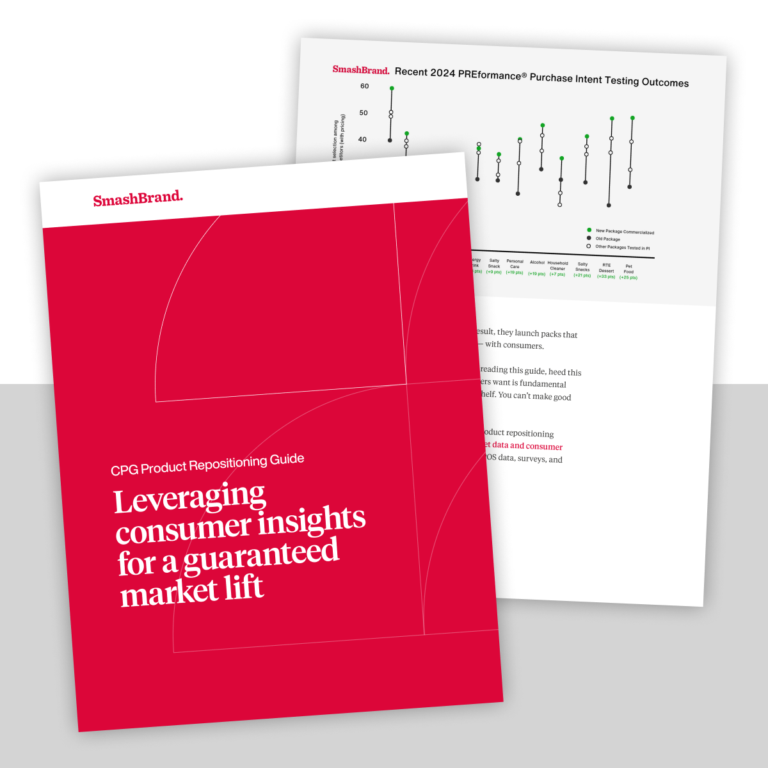
CPG product repositioning guide.
Explore the five undeniable signs your CPG product needs repositioning along with strategies for leveraging consumer insights for a guaranteed market lift.
Learn More About CPG product repositioning guide.